The case wasn't too bad but the the keys looked like they were made from cheese!

Motherboard was nice and clean though.

I popped those ugly keys off on the next free day I had and give them a good clean and then a two day soak in some H202 that I got from eBay.


Couple of days in the sun from 7:00 to around 17:00 each day, giving the tub a shake every hour or so and this is the result I end up with :)


They look so good it's now made the case seem more yellow than it actually was! Damn!! I'll have to wait until I get a bigger tub to do that.

Anyway when I got this beast I plugged it in to see how it was I noticed there was no sound. Now I was told that this was working and tested. After bugging the hell out of my friend Paul who knows a shit load about these computers we determined the 6581 was toast. I tested it on pin 14 and 28 with the multimeter and got a reading of 11.97v which meant the right power was going through it so it must be the 6581 right?


After a couple days wait I got hold of a new 6581 from a top bloke on Facebook and swapped it over. Voila! Sound was booming out.!Yay win for me! Removed the RF shield and added heatsinks on the chips that had thermal paste left on them.

Keep an eye on this post for the final RetroBrite stage of the case complete with nice pictures of it all setup and working :)
Update- 27th May:
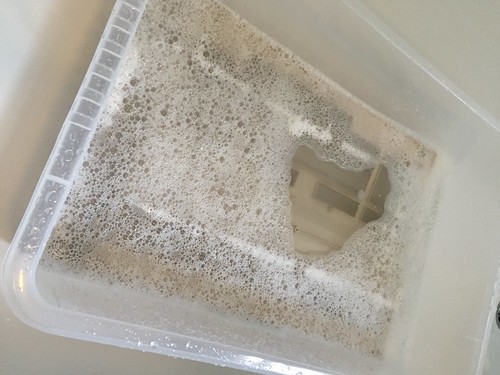
So I picked up a tub big enough to hold the casing for RetroBrite'ing :) Right now they're having a soak in some water with OxyClean in it to remove all the stains & dirt.

As you can see from the gallery above I've given it a clean ... then a soak in H202 (about 9hrs) then give it a good rinse with clean water and let it thoroughly dry before attempting to screw it back together.
The result is awesome but for now you'll have to wait as I have a new badge on order. Once that's here I will update the post with a "final result" picture!
Update: 3/6/16
The badge arrived today and that was all I needed to finish off my 128! She now looks beautiful! Click the image for a bigger version!
If you like what I'm posting please follow me on: Instagram - Twitter - Facebook


